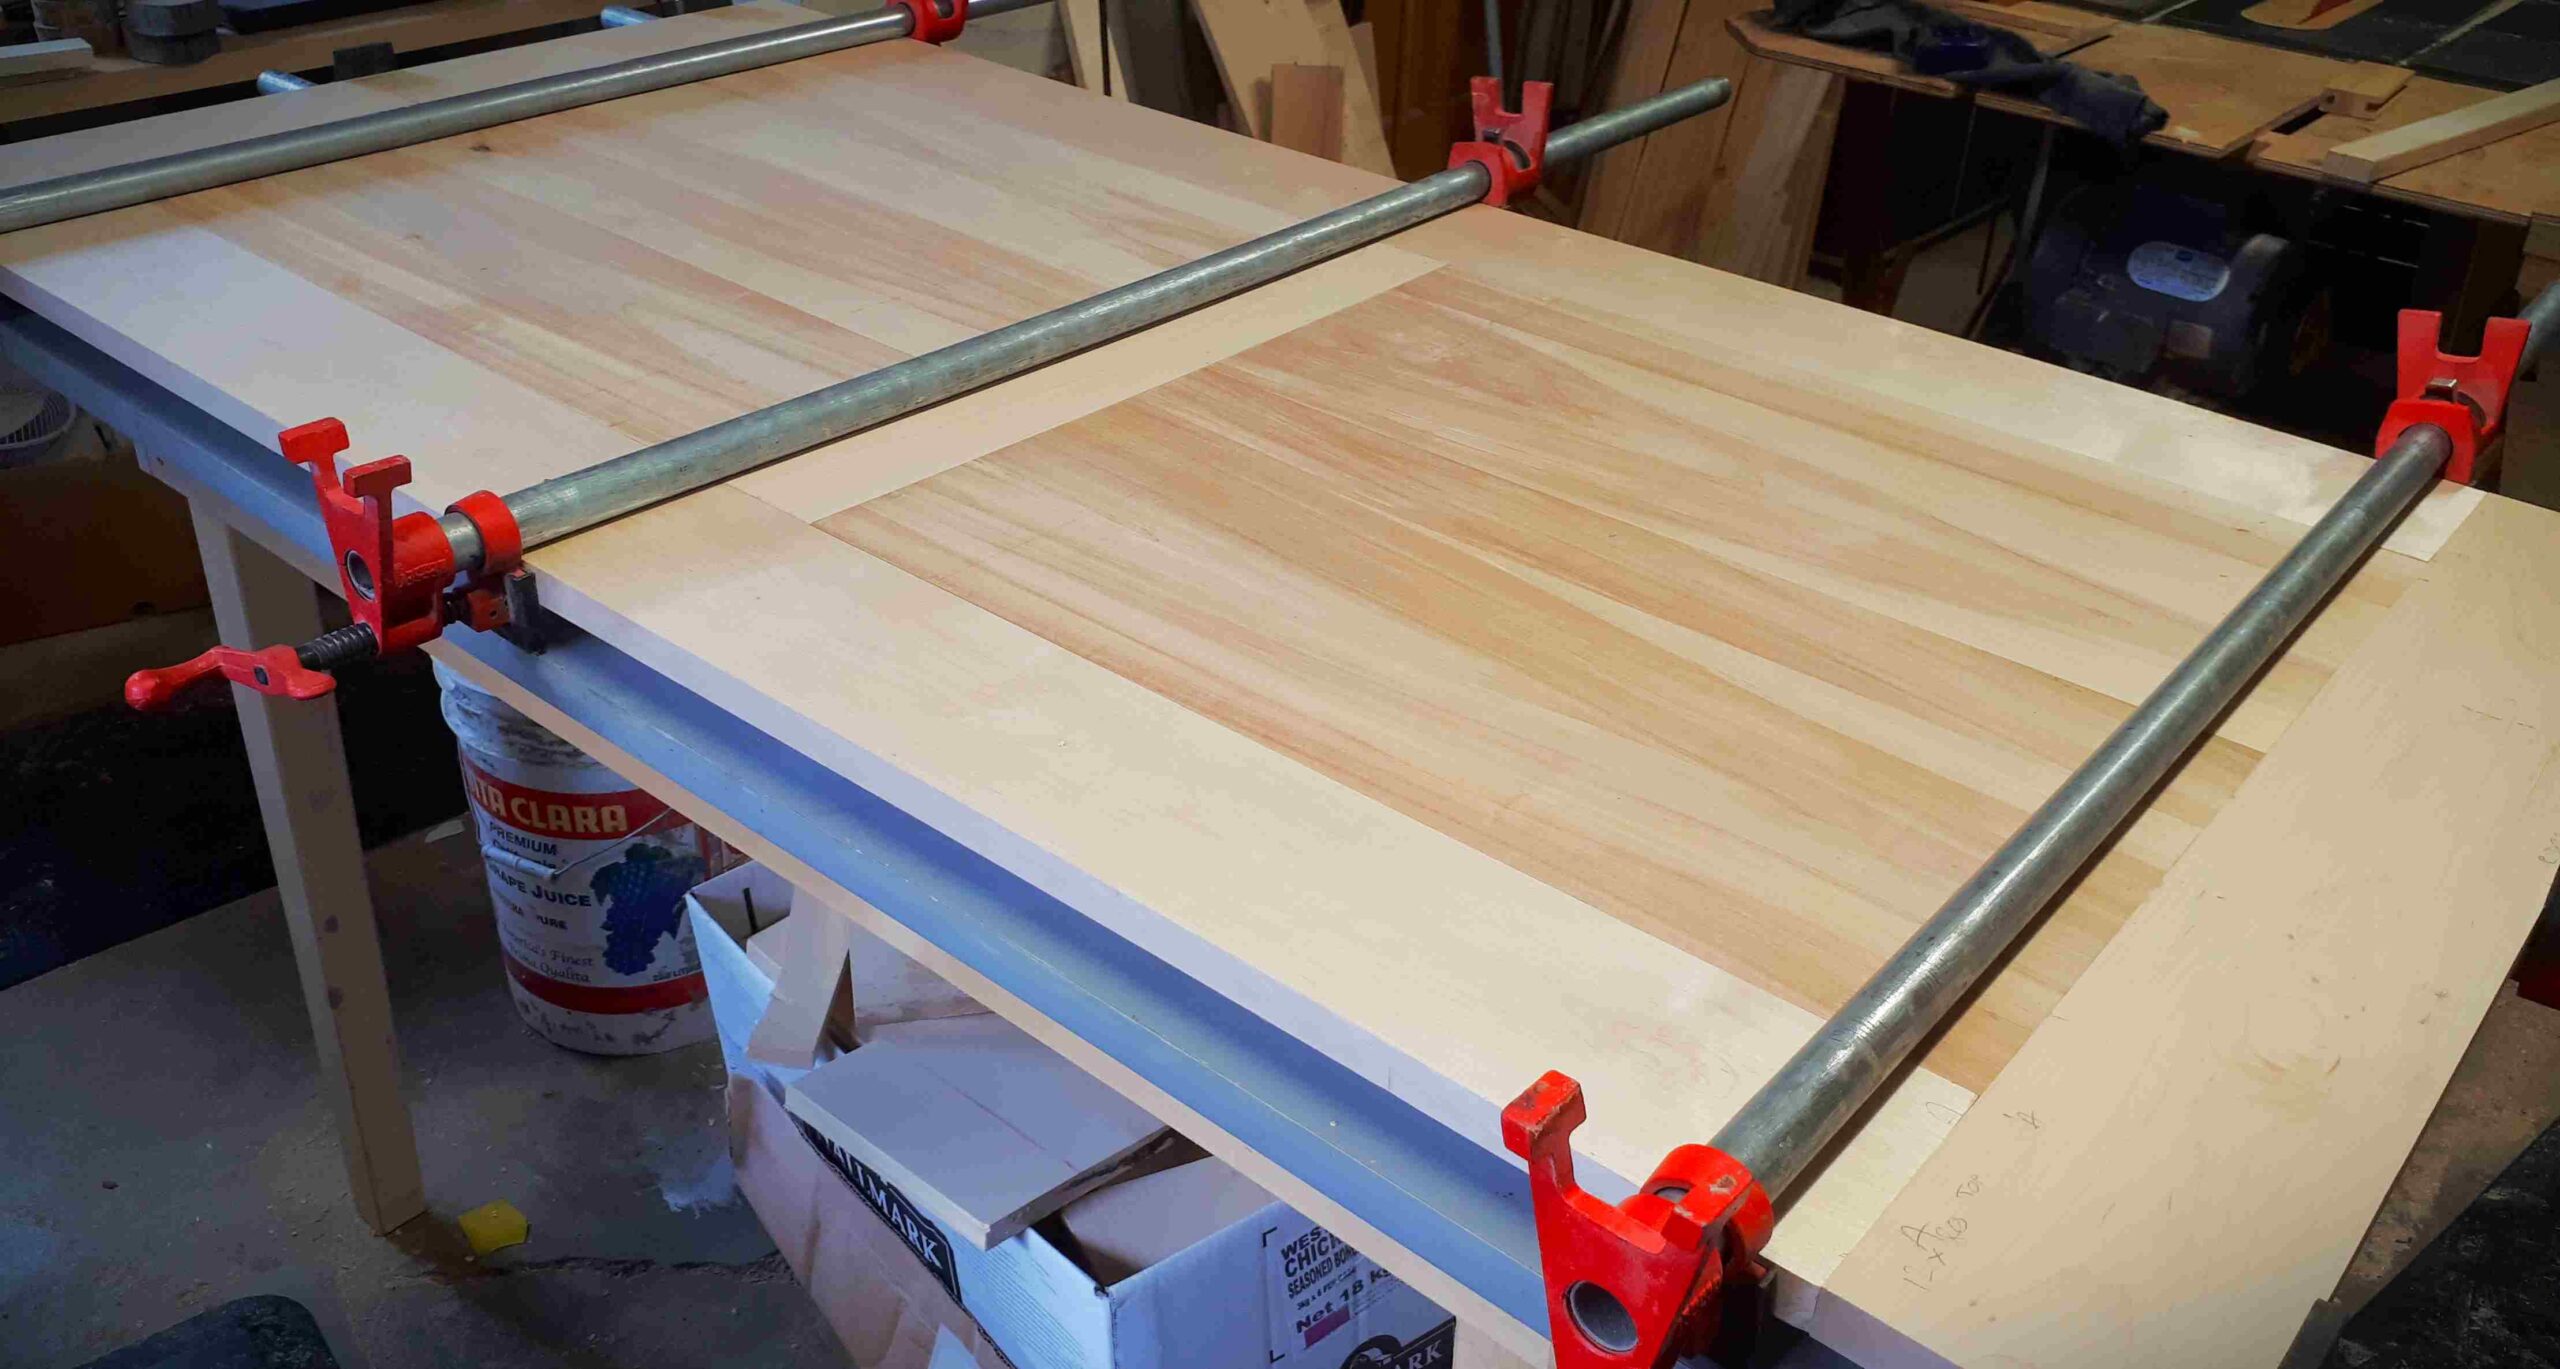
Le plateau est maintenant assemblé et à ce point, je suis content du résultat.
Prochaine étape, cheviller l’encadrement d’érable.
Mes défis à ce stade avec ce projet:
- Le gauchissement du bois.
Ci dessous, une brève description des types de gauchissement:

Warping is something that does not affect me much in most of my smaller projects.
I have found that all the pieces that I have used in this project, birch and maple alike have somewhat warped at some point in the process, some in very small increments, some quite significantly. The worst instances types were the bowing and the cupping.
The bowing: I found that sometimes the bowing appearing at earlier point in the process disappeared later on: The board was straight again! Clearly these pieces of wood reacted to changes in their humidity content and some of these changes are only temporary.
The longer the pieces that I am cutting are, the more any variation will be visible or affect the process. For instance, if a 50cm long board in the table is slightly bowed, it reaches very easily 1.5 mm off in the center. This may not affect the end result at all, but it will take me a lot more work to sand down flat.
The real problem was that I machined some of these parts when they were bowed and they were then unusable as I ended up with either a bowed groove in a straight board of a straight groove in a bowed board.
Some lesson’s learned:
- I need to bring my wood in the shop for a few days before I use it and let it dry properly into a more stable state.
- I need to maintain my shops conditions more evenly both in terms of temperature and moisture content. This may be a little challenging during this end of winter season.
- I need to monitor the condition of my wood part’s much more closely (moisture content and warpage) and machine them only when they are straight, or if possible, compensate appropriately.
- I need to equip myself with a wood moisture meter.
The cupping: When I found that some of the larger boards had cupped after I planed them to the desired thickness, I decided to rip them in two in order to minimize the bowing on each board and join them with tongue and groove. This worked well and made any cupping manageable.
The crooking: I found some very light instances of a board getting slightly crooked after ripping it down, the joint will not be closing nicely tight and I had to retrim my board straight first.
- This tongue and groove jointing method is a first for me in my furniture making adventure.
As much as I love this tongue and groove method because it is strong and stable and fairly easy to do. As such I still think that this is the best way to do my table top. I discovered some of the tricks and tips for not messing a part up the hard way when cutting the tongues and grooves on two perpendicular edges. I learned pretty fast to not go too far out on the edges. However, all in all it went quite well and I had very little rejects.
- Machining accuracy.
Don’t get me wrong, it takes a lot of accuracy to make my butterdishes. The main difficulty for my butterdish has always been to make a set of very accurate jigs and templates. The machining is often the easier part. And let’s face it; if a side of my butter dish cover is not cut 100% perfectly, this minor “defect” will likely be eliminated during the following process of finger jointing or sanding after glueing. But if an 80cm table board is not cut totally straight, the joint with the next board will show ugly gaps.
So, inevitably, this inaccuracy concern forced me to:
- Do some maintenance on some of my machines such as fixing my table saw fence system which was not behaving like I wanted, replace some worn out rollers on my drum sander etc… .
- Rethink how I use my machines in order to get a better result out of them.
- Space in the shop.
I love my little shop and do not complain about its size, but it does force me to operate accordingly. I work slower and accept to do some additional material handling in order to live with the limited space.
Some good side of it is that this forces me to put my tools away a lot faster than if I had space to leave them lying around.


